- March 15, 2022
- In Power Platform, PowerApps Portal
- No Responses
Introduction: In this blog, we will understand how to add multiple file control on the basic form of PowerApps Portal.
Steps to be followed:
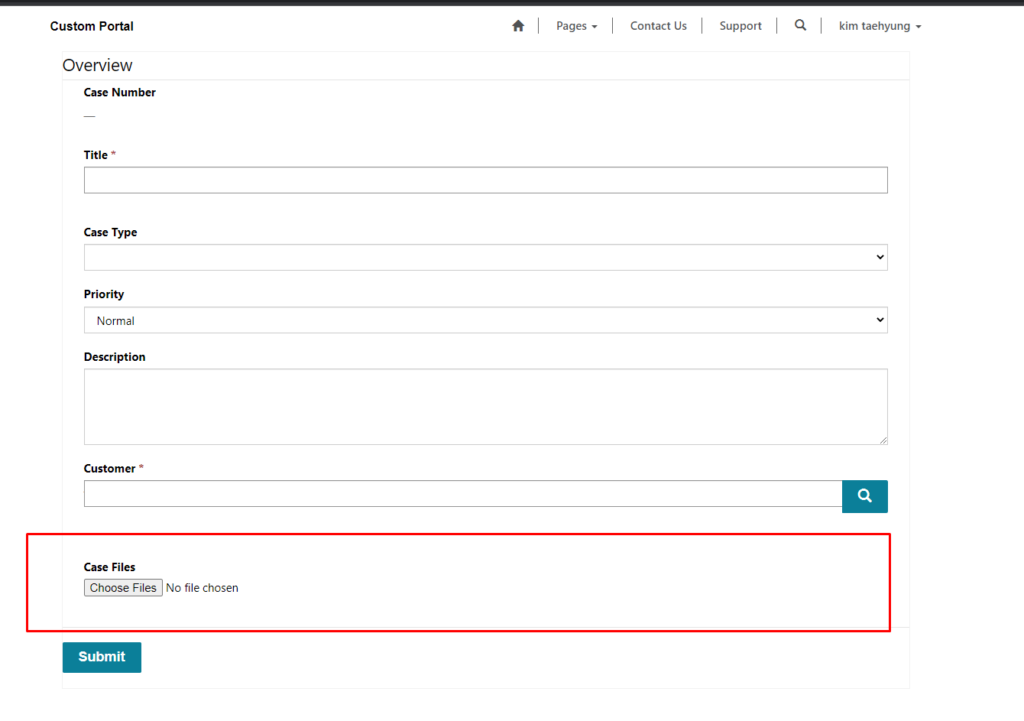
Before adding multiple file control you have to enable file attachment on the basic form.
Refer to this blog to enable file attachment on the basic form: https://vblogs.in/file-attachment-on-basicentity-form-in-powerapps-portal/

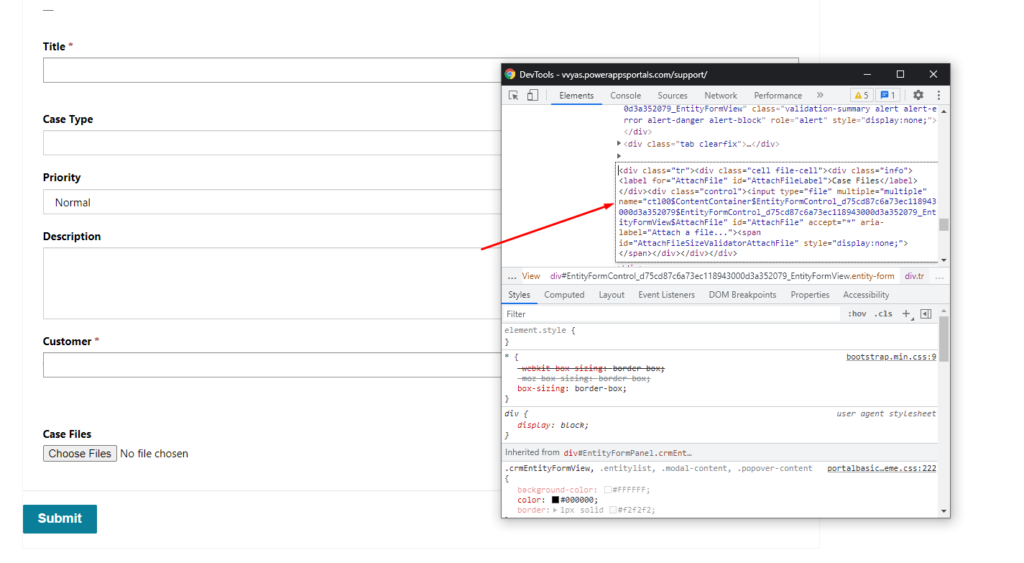
2. Inspect the control.

3. Right click on the element and click on “Edit as HTML”

4. Copy HTML.

After copying the HTML go to the Portal Management App.

3. Paste the JavaScript code in this section.

Code:
$(document).ready(function () {

    ///Additional File 1

    $("#AttachFile").closest('.tr').after($('<div class="tr"><div class="cell file-cell"><div class="info"><label for="AttachFile1" id="AttachFile1Label">Additional Files 1</label></div><div class="control"><input type="file" multiple="multiple" name="ctl00$ContentContainer$EntityFormControl_d75cd87c6a73ec118943000d3a352079$EntityFormControl_d75cd87c6a73ec118943000d3a352079_EntityFormView$AttachFile" id="AttachFile1" accept="*" aria-label="Attach a file..."><span id="AttachFileSizeValidatorAttachFile" style="display:none;"></span></div></div></div>'));

    ///Additional File 2

    $("#AttachFile1").closest('.tr').after($('<div class="tr"><div class="cell file-cell"><div class="info"><label for="AttachFile2" id="AttachFile2Label">Additional Files 2</label></div><div class="control"><input type="file" multiple="multiple" name="ctl00$ContentContainer$EntityFormControl_d75cd87c6a73ec118943000d3a352079$EntityFormControl_d75cd87c6a73ec118943000d3a352079_EntityFormView$AttachFile" id="AttachFile2" accept="*" aria-label="Attach a file..."><span id="AttachFileSizeValidatorAttachFile" style="display:none;"></span></div></div></div>'));

})
NOTE:
In the after function paste the HTML which we copied in an earlier step, also update the id of the HTML element.
4. After adding the JavaScript Save the basic form, Navigate to Portal to see the changes.

Testing:
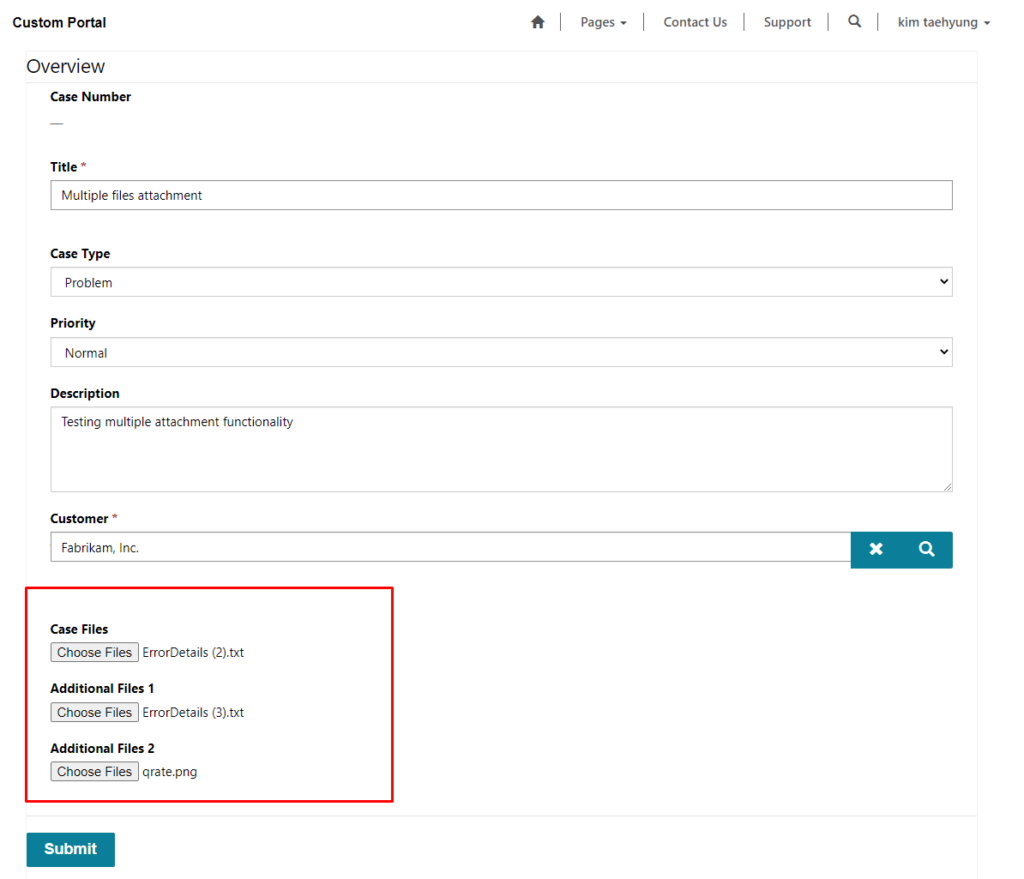
Upload the files in each control and save the record. All the files will be created as notes in dynamics successfully.


Let started with our D365 Quickstart package and get onboard within 7 days!
I'M INTERESTED!