Introduction
In this blog I have explained features of Adobe Sign for Microsoft Dynamics 365 for Sales and how we can use it. Adobe Sign is e-signature solution that gets your documents signed faster without leaving Dynamics 365. We can send, sign, track and file contracts with legally-binding, globally compliant e-signatures with Adobe Sign. Adobe Sign add-on is free to download and install on CRM, but we need to buy license of Adobe Sign.
For installation guide please check here:
https://helpx.adobe.com/sign/using/microsoft-dynamics-integration-installation-guide.html
Features
- Can be used with D365 entities such as Contacts, Accounts, Leads, Opportunities, Orders, Invoices, Quotes, Contracts, also with custom Entities.
- Ability to send documents with OneClick :
- It will be available on any entities where any form of contact lookup exists. Like Lead, contact or any type of contact associated with the primary entity.
- Ability to get data from CRM entities to the Sign form
- We can achieve this using Acrobat DC.
- Update CRM records with data captured on the Sign form via Data Mapping.
- We can add fields on document and map it to CRM entities fields.
- Ability to store the signed document as an attachment against the CRM record .
- We will get signed document in D365.
How to use
- After installing Adobe sign add-on on crm, all entities will have a button on form ribbon named as “Send for Signature”.
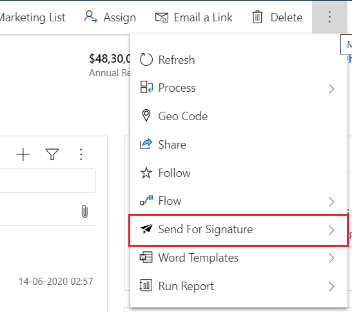
- After clicking on button, you will see list of Agreements and Agreement Templates related to the current entity.
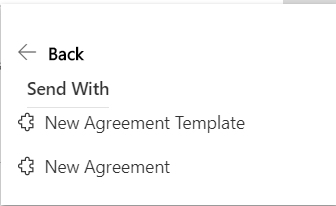
- Another way of sending document is by directly creating a record in Agreement entity.
- If you select Agreement Template, then it will create Agreement as per template and add information and recipient to it (If record entity have any type of contact associated with it).
- In agreement you can change some information about the email that you are going to send such as add more recipient, add document, change agreement option etc.
- Agreement has status as “DRAFT” by default and the record will gets attached to agreement in Regarding field.
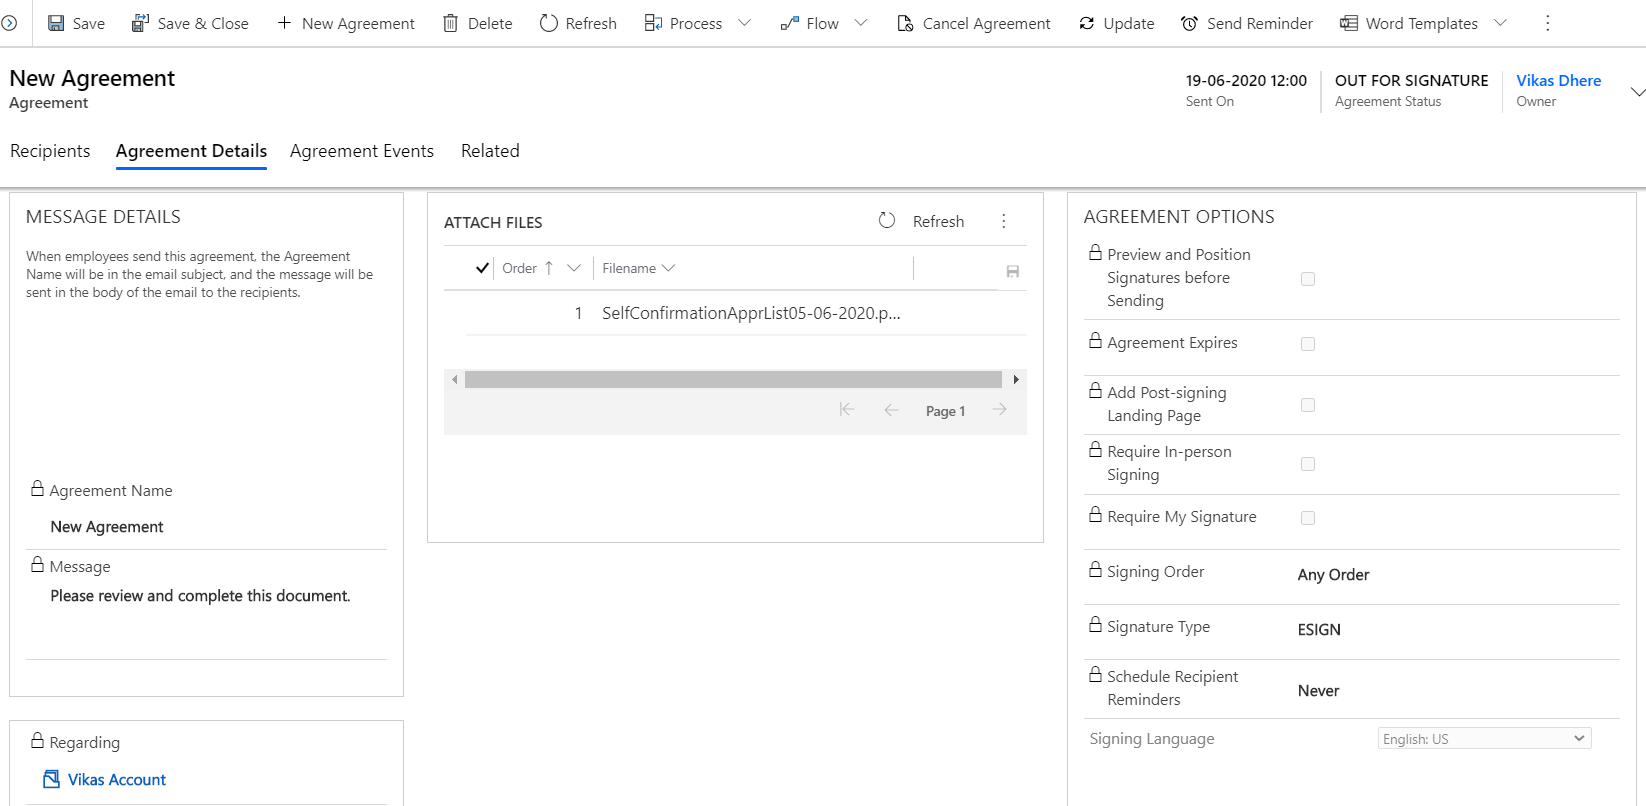
- If all information is correct, then you can click on button “Send Agreement” which is available on Agreement form and send the documents to recipients. It will change Status to “OUT FOR SIGNATURE”.
- After that, recipient will receive an email as follows :
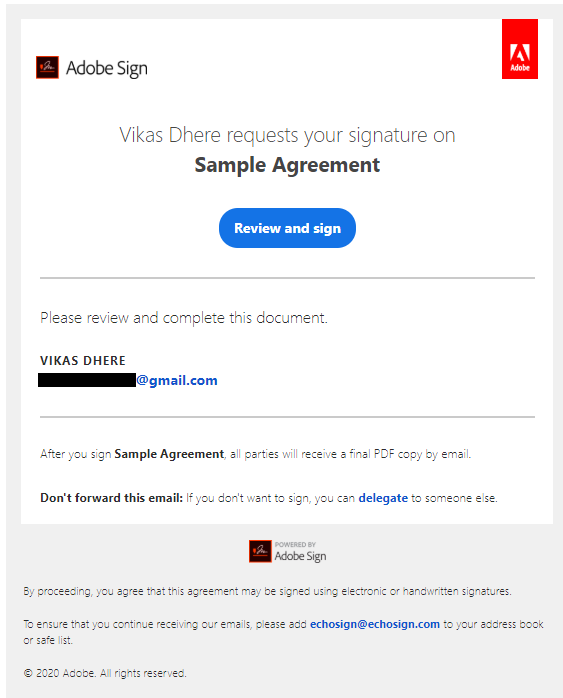
- By clicking on “Review and sign” button, it will take you to one web page where you will see the document and the Signature box placed on it.
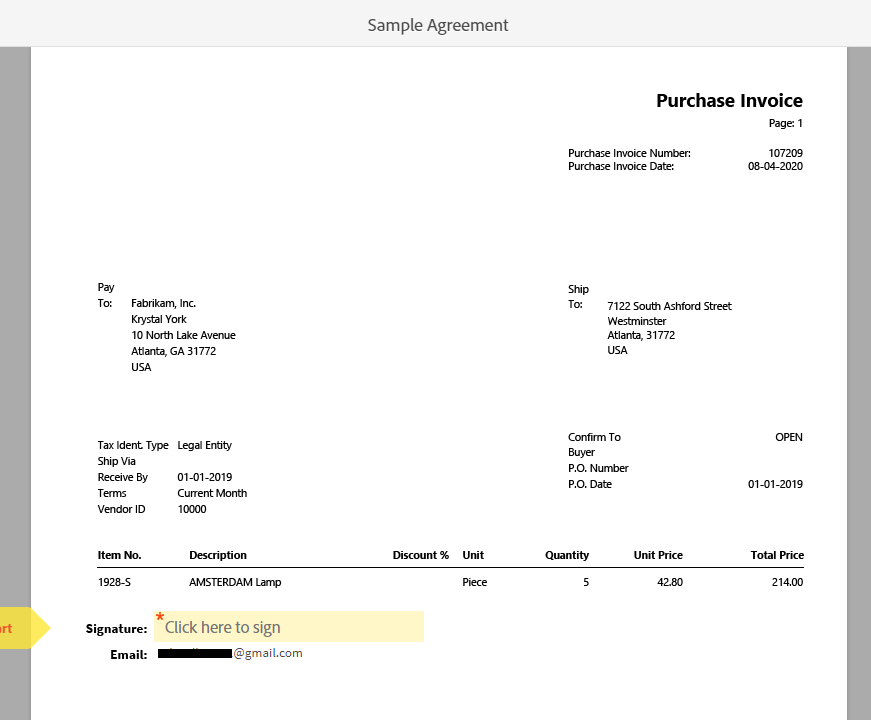
- Click on signature box to sign it. A popup will open as follows:
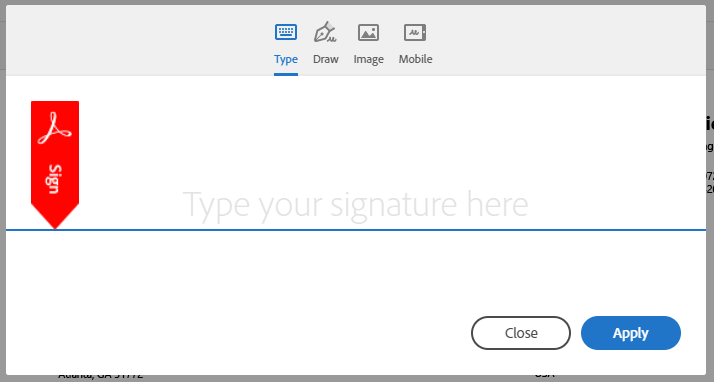
- To sign, you have 4 different option.
- Type : You can simply type your signature.
- Draw : You can draw using your pointer or directly draw your signature if your device has touchscreen feature. (with your name)
- Image : You can add an image of your signature. (with your name)
- Mobile : You can send a link to your Mobile number so that you can open it on your mobile and draw signature using mobiles touchscreen feature.
- After drawing you signature click on apply.
- Then this popup will get closed and a UI strip will appear on web page where link for Term of Use and Consumer Disclosure and a button for sign name “Click to Sign” are available.

- By clicking on “Click to Sign”, you will be agreed on terms of use and the signing process will gets completed. Here the recipient’s work will get done.
- A copy of signed agreement will get attached to agreement and another copy will be sent to recipient.
- The agreement status will get changed to “SIGNED”.
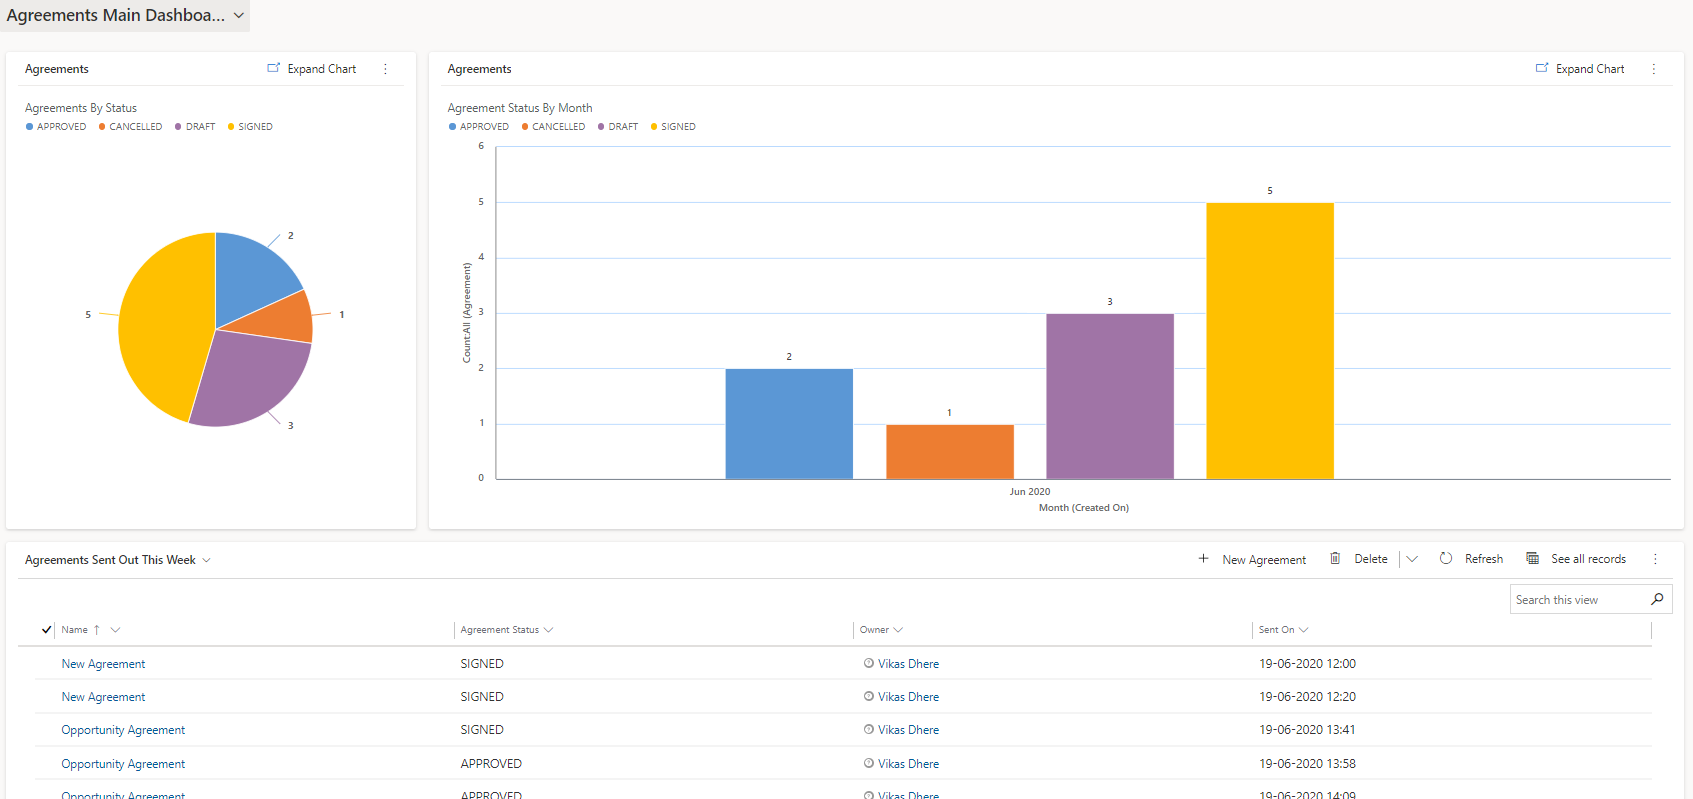
- You can track agreement by its status.
- Add-on will provide a dashboard where you can monitor the agreement status by via graphical charts.
